
Silicone Logo Activewear: How to Brand Stretch Knit Without Ruining It
Silicone badges, heat transfers and embroidery all claim to work on activewear. On a four-way-stretch interlock they behave completely differently — here is what survives washing, what puckers, and how a light-customization line actually runs.
Branding methods for knitwear split into two stages: what is knitted into the fabric, and what is applied after the garment exists. We covered the first stage in Jacquard vs Intarsia vs Embroidery — jacquard and intarsia build the graphic into the structure itself. This post is about the second stage, and specifically about activewear: stretch interlocks that a woven sweater never has to deal with. Our activewear line runs as light customization — seven catalog styles finished with your logo as a heat-pressed silicone badge — and this is the reasoning behind that choice, written for buyers deciding how to brand a first activewear drop.
The problem with branding activewear is not making a logo stick. Anything sticks. The problem is that a naked-feel nylon-spandex interlock stretches in four directions, recovers repeatedly, goes through hot washes and tumblers, and sits against skin. A branding method that ignores those four facts looks fine on the sampling table and fails in the drawer of a customer who has worn the piece twice. So before comparing methods, here is the test every method has to pass: survive 4-way stretch without whitening or lifting, keep its edge after repeated washing, add no stiffness the garment did not have, and stay comfortable against bare skin. Four methods compete for that job.
The Four Ways to Brand Stretch Knit
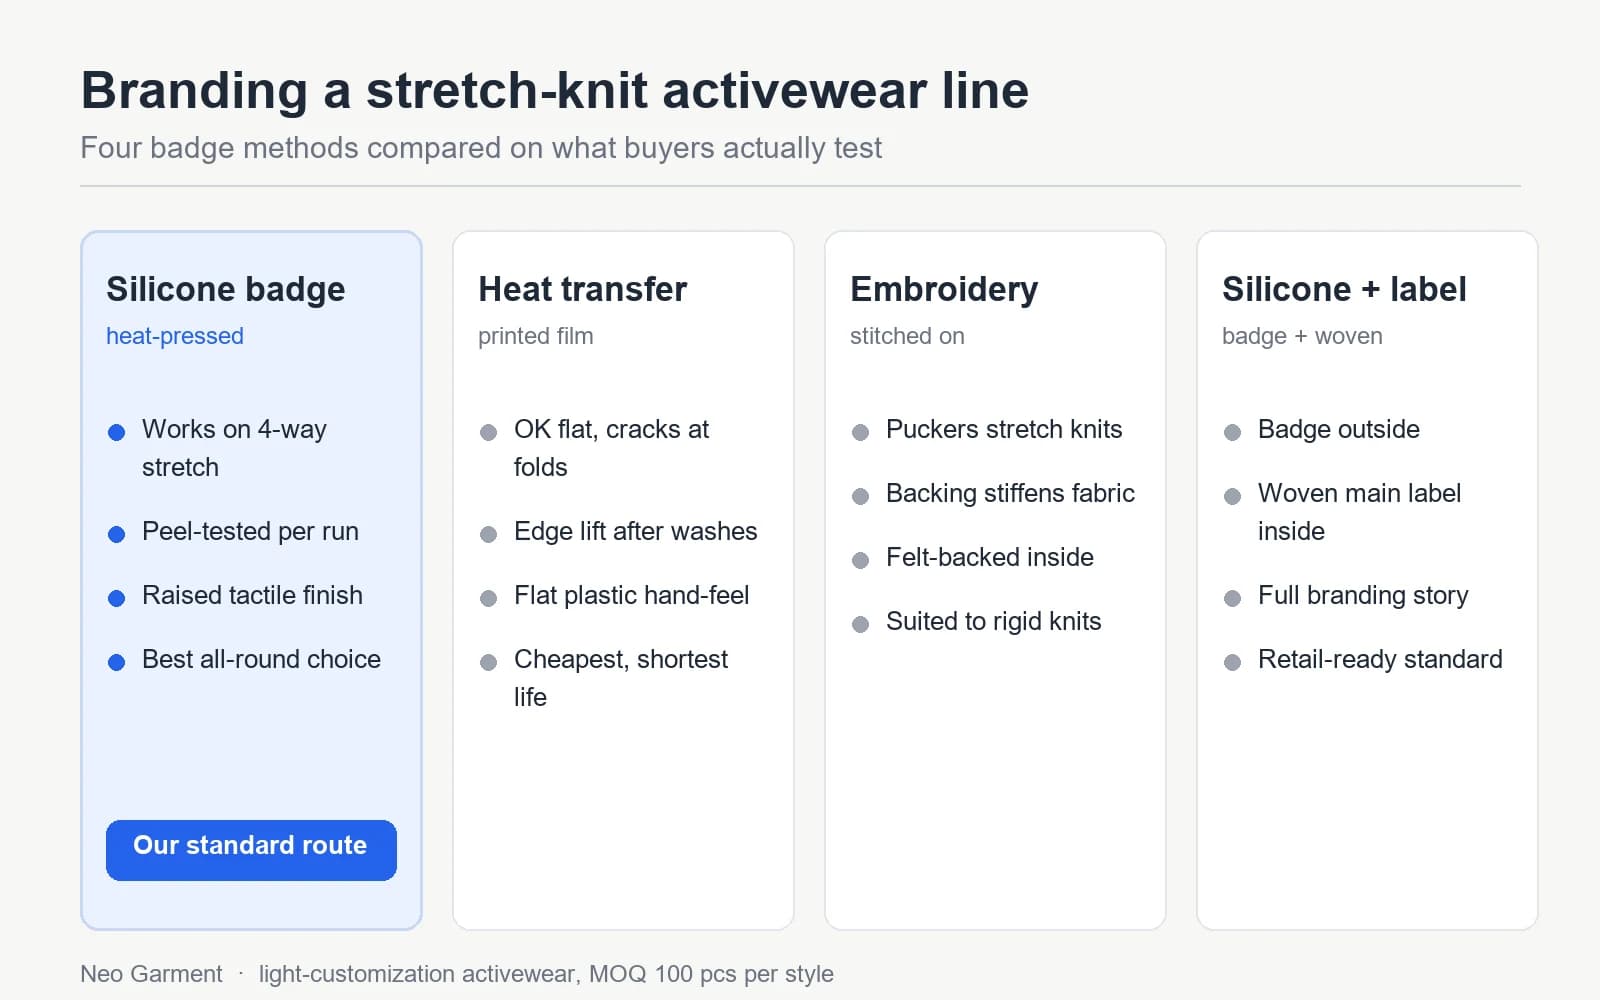
Silicone badges, heat-pressed — the standard route
A silicone badge starts as your vector file, from which a mould is cut; liquid silicone is cast into it and cured into a flexible, matte, rubber-touch badge with real relief — typically 1.5 to 2.5 mm of raise on the fine details. It is then heat-pressed onto the garment. Silicone itself stretches with the fabric, which is the whole point: where a rigid film fights the knit, the badge elongates and recovers with it, so the edge never whitens and the corners never lift. The raised finish reads as a design detail rather than a sticker, which matters on minimal styles where the logo is one of the few visual elements. In our runs the badge is peel-tested on the first piece of every production batch, and on brushed fabrics we press at a slightly lower dwell so the nap is not flattened under the badge.
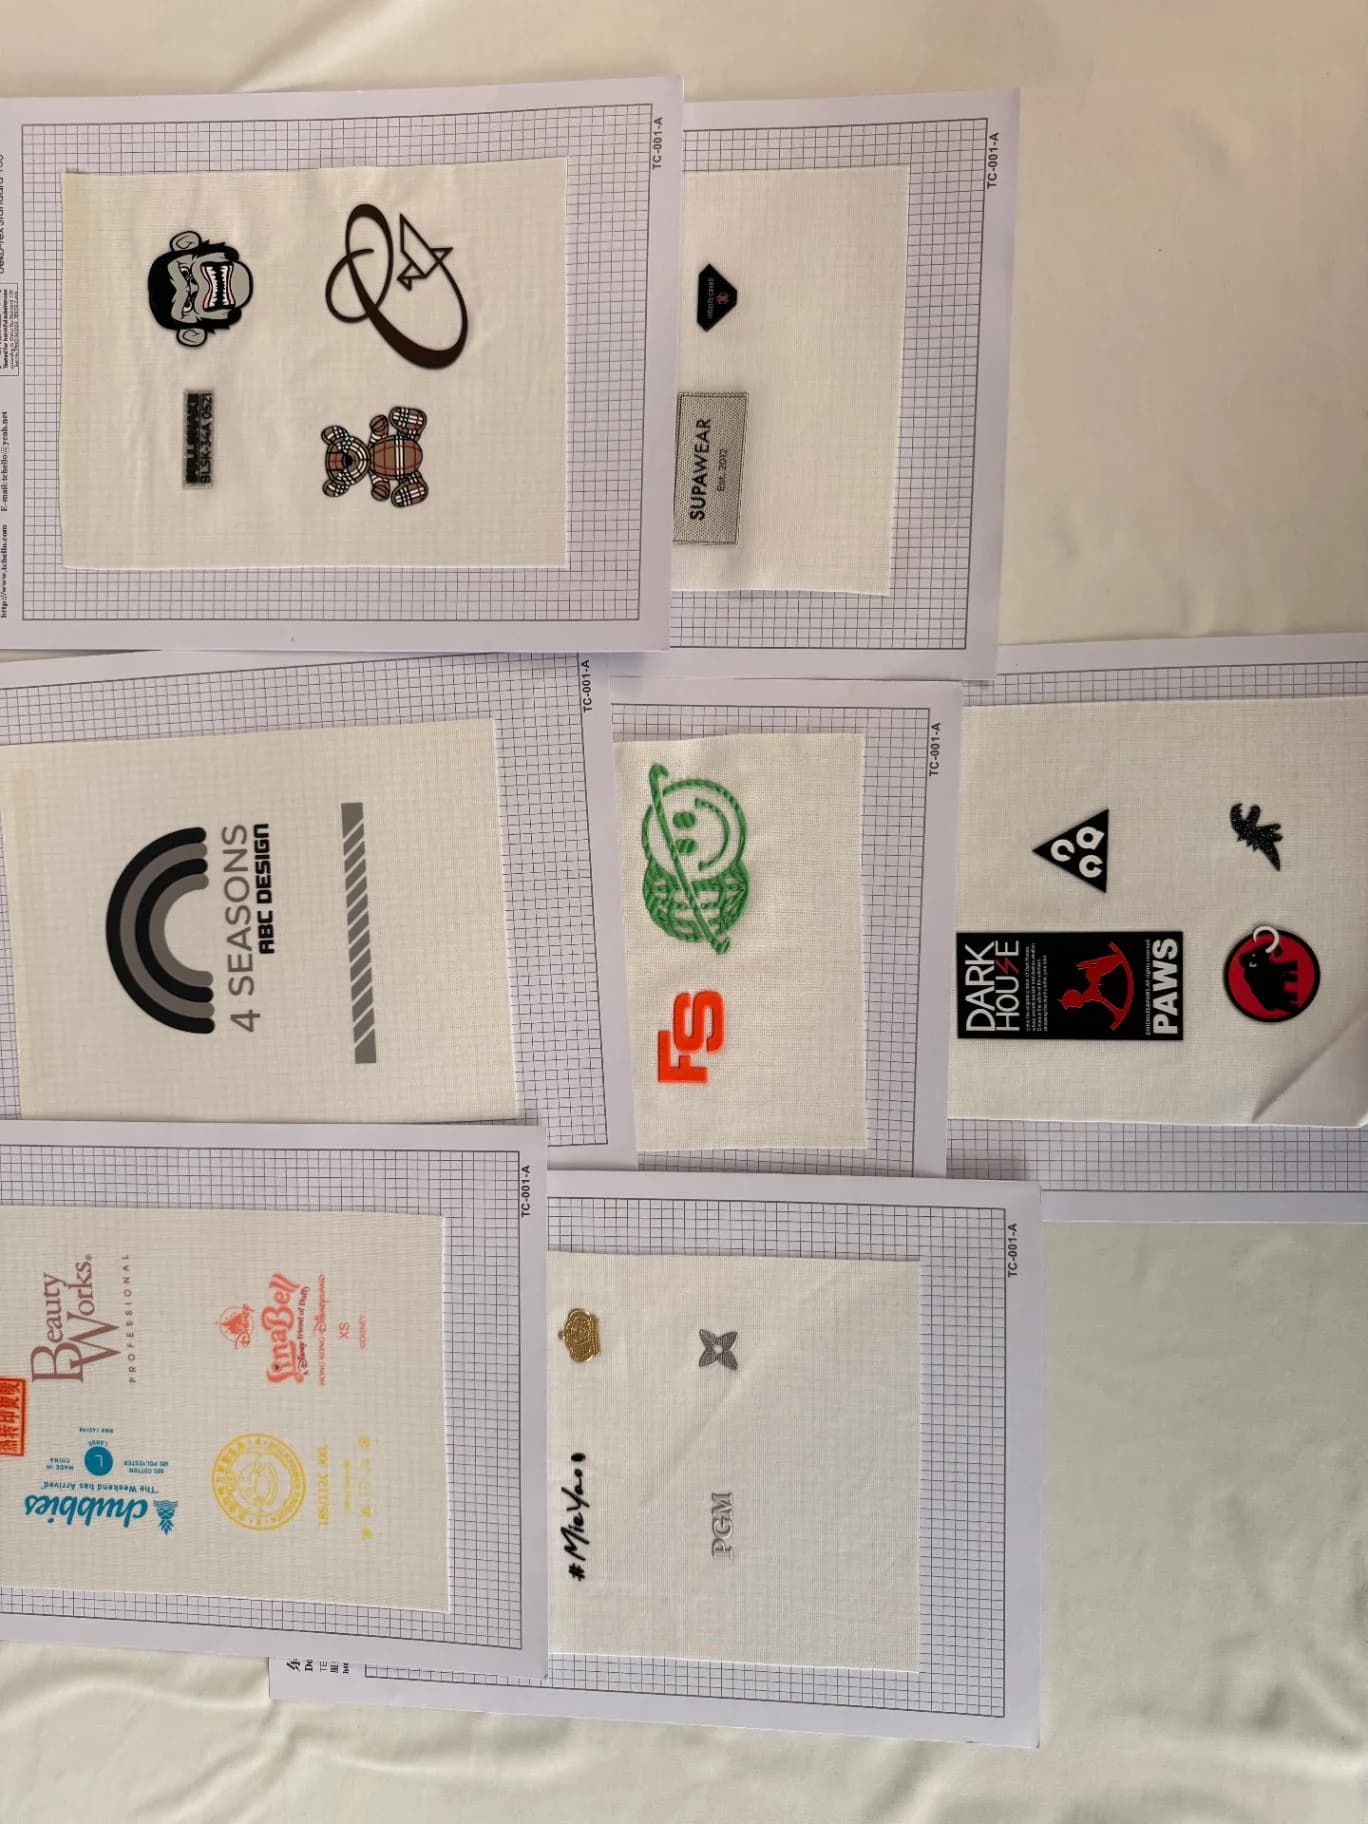
The sample board above is the fastest way to see what the process can hold: customer artwork produced as raised badges, high-density prints and multi-colour silicone builds, each one pressed on a knitted test swatch before it ever meets a production garment. Fine serif lettering, bold collegiate marks, tonal-on-tonal work and multi-colour registration all come off the same casting-and-pressing route — the mould and the durometer change, the method does not. Every sample on a board like this has already passed the same checks a production badge must pass: clean edge release from the mould, correct adhesion on the knit, and no whitening when the swatch is pulled to full stretch.
Heat transfers — cheap, fast, and the first to go
A heat transfer is your logo printed on a carrier film — often PVC or PU based — and pressed flat onto the fabric. It is the cheapest route and the fastest to produce, and on a flat woven tee it is a legitimate choice. On high-elastane activewear it has two structural weaknesses: the film is far less extensible than the knit, so at the fold lines and high-stretch panels the print cracks and whitens; and after repeated wash and dry cycles the edges begin to lift, starting as a hairline halo you can feel with a fingernail. It also sits as a flat plastic layer on a fabric whose selling point is a buttery hand — buyers feel the difference at the hem corner where their fingers naturally rest. We run transfers only when a buyer explicitly asks for that flat-printed look as a design decision.
Embroidery — the wrong tool on elastic ground
Embroidery on a sweater is a craft; embroidery on a 25% spandex interlock is a conflict. Stitched thread does not stretch, so every satin column fights the ground fabric — the result is puckering around the mark and a stiff patch that reads wrong on a garment whose entire value is drape and softness. Worse is what embroidery needs on the inside: a backing stabiliser, which on activewear becomes a scratchy felt-backed panel against bare skin. There is also simply less geography — a spaghetti strap or a binding has no room for a hoop. Embroidery remains the right answer on rigid knits, which is exactly where we recommend it; on stretch interlocks we advise against it and say so in quotations rather than quietly accepting the order.
The full route: silicone badge plus woven main label
The badge is the outside; the brand story is finished inside. A woven main label at the back neck (or centre back on the romper), a size curve, and a care label printed to your destination market's requirement — that is the complete retail-ready package. Buyers assembling a first line often start with the badge alone and add the label programme at bulk; both are specified per style and Pantone-matched to the body colour, which is one more reason the light-customization route runs cleanly: everything a label touches is already a standardised input.
What You Actually Customize on a Catalog Style
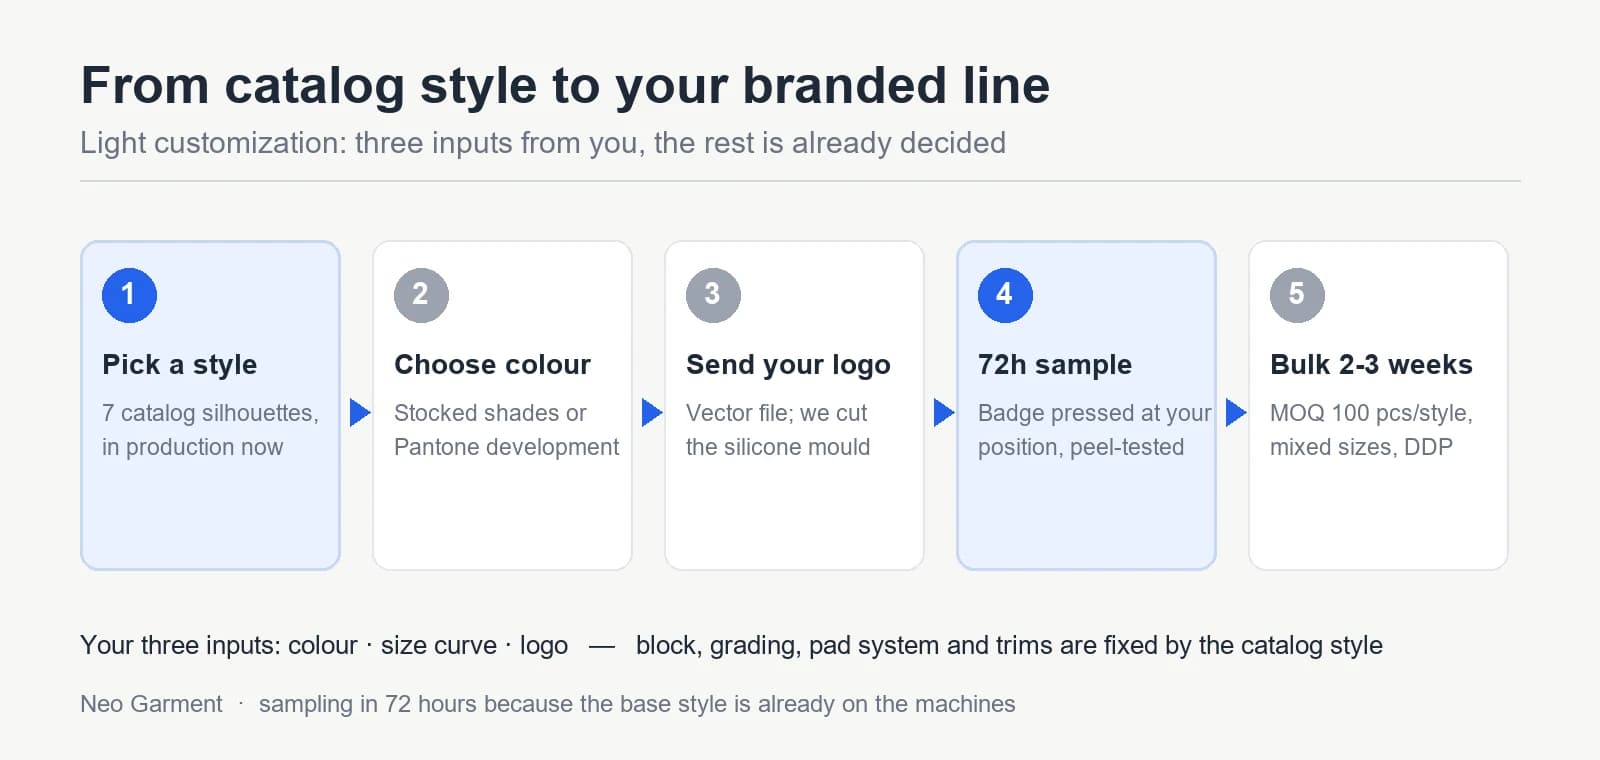
Light customization is deliberately narrow, and the narrowness is what makes it fast. The silhouette, the pattern block, the grading, the pad system and the trims are fixed by the catalog style — they are the parts that would otherwise cost you weeks and sampling rounds. Your inputs are three: colour, size curve, logo. Colour runs from stocked shades — the yoga tank alone is stocked in ten — through to Pantone development on body and badge alike. The logo is a vector file from you and a cut mould from us. Because the base style is already in production, sampling runs in 72 hours and bulk in two to three weeks including badge production, at a MOQ of 100 pieces per style with mixed sizes — and mixed colours — included. For a brand testing an activewear category, that is the difference between a line that launches and a line that stays in the sampling folder.
Where the Badge Goes — Placement Is a Production Decision
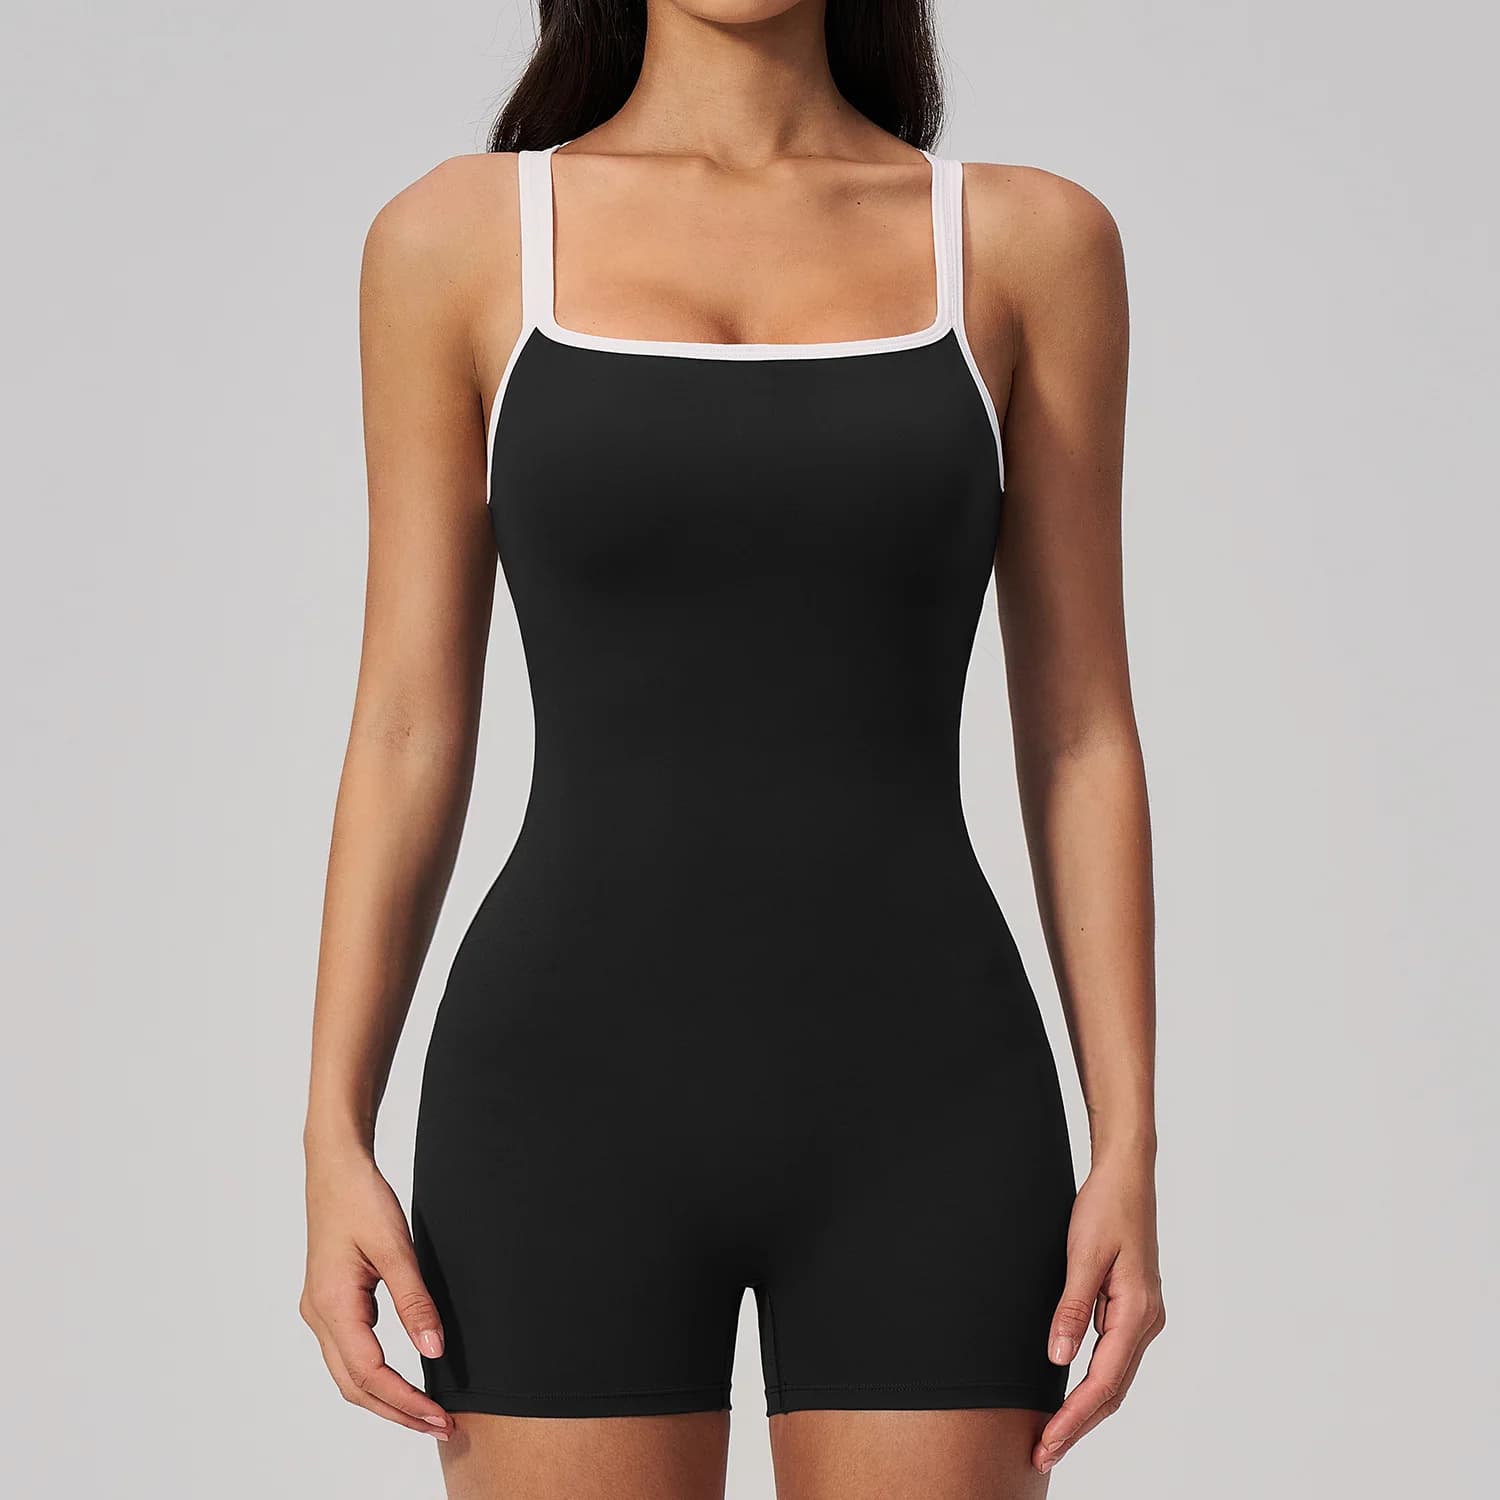
Position is not just aesthetics; it is a conversation with the construction of each style. On the crop tank, hem corner and centre chest photograph best, and we keep badges clear of the pad zone, where a mark would sit on the highest-stretch panel and disturb the shelf construction. On the fold-waist flare pant, the back face of the fold-over band is the placement that wins — it stays flat through wear, is invisible when the band is worn folded high, and becomes a detail when worn low. On the romper, left chest and hem corner work; the open-back zone does not. You choose the position; the style's construction decides what we will warn you about before you commit. That exchange happens at sampling, on a real pressed piece, not on a mock-up.
Durability: What Peel-Testing Actually Tells You
Every run is peel-tested on the first piece: the badge edge is lifted with a tool and measured for adhesion before the batch proceeds, then the garment is washed to its care label and re-checked. What we are screening out is the failure mode customers notice first — edge lift, the whitening halo where the mark stopped bonding. Silicone bonded to a nylon-spandex interlock and pressed at the right dwell passes the wash cycle without edge lift because the two materials share a similar elongation; the bond is not fighting the stretch, it is riding it. This is also why we ask about your care label at sampling: a badge pressed for a 30°C wash programme behaves differently from one specified for hot wash and tumble, and the press parameters are set to the label you will actually print.
Frequently Asked
Will a silicone logo crack or peel in the wash?
Not when it is pressed to the care label's programme — silicone stretches with the knit instead of resisting it, which is the structural difference from printed films. The failure mode to screen for is edge lift from under-curing or wrong dwell, and that is what the first-piece peel test on every run catches. Wash to the care label and the badge outlives the fashion cycle of the garment.
Silicone badge vs heat transfer — which lasts longer?
On high-elastane interlocks, silicone, by a wide margin. A transfer is a rigid film on an elastic ground: it cracks at folds and lifts at edges within a season of regular washing. A silicone badge shares the fabric's elongation, keeps a tactile raised finish, and stays comfortable against skin. Transfers win on unit cost at very high volumes on flat goods — on stretch activewear they are the cheapest route to a replacement purchase, not a loyal customer.
Can I mix colours and badge positions in one MOQ?
Yes — the MOQ is counted per style, not per colour, so 100 pieces of the yoga tank can split across the ten stocked shades in any proportion you choose. Badge position is set per style, so one style carries one position across its colour split; the mould itself is a one-time cut and serves every colourway of that mark.
Do you offer embroidery on activewear?
We advise against it on stretch interlocks, for the reasons above: puckering, a stiff backed patch, and a scratchy inside against bare skin. On rigid knitwear — sweaters, cardigans, beanies — embroidery is one of our standard finishing options and the right tool there. Matching the method to the ground fabric is the whole craft.
If you are planning a first branded activewear drop, the fastest way to evaluate the route is a sample with your own mark on it: pick a style from our activewear line, send the vector file, and the 72-hour sample will arrive with your badge pressed at the position you chose — peel-tested, washable, and ready to be judged by the only standard that matters, which is your customer's hands.
Looking to manufacture this style at scale?
Send us your design brief and we'll quote a direct-factory run with low MOQs, 72h sampling and DDP worldwide delivery, knitted on our own floor in Dalang.
Knitwear you can manufacture right now
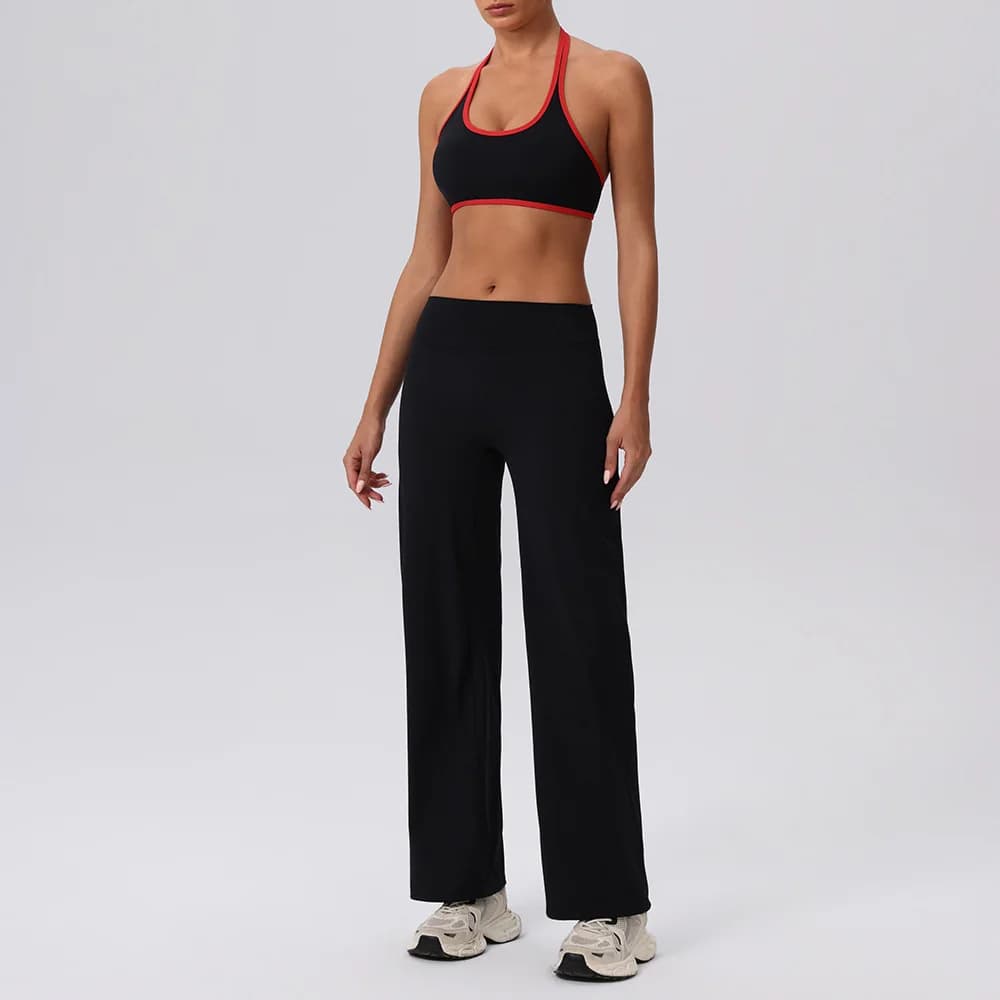
Custom Bare-Feel Yoga Set
Halter-bra-and-flare-legging or tank-and-yoga-pant set in bare-feel nylon-spandex — finished with your silicone logo.
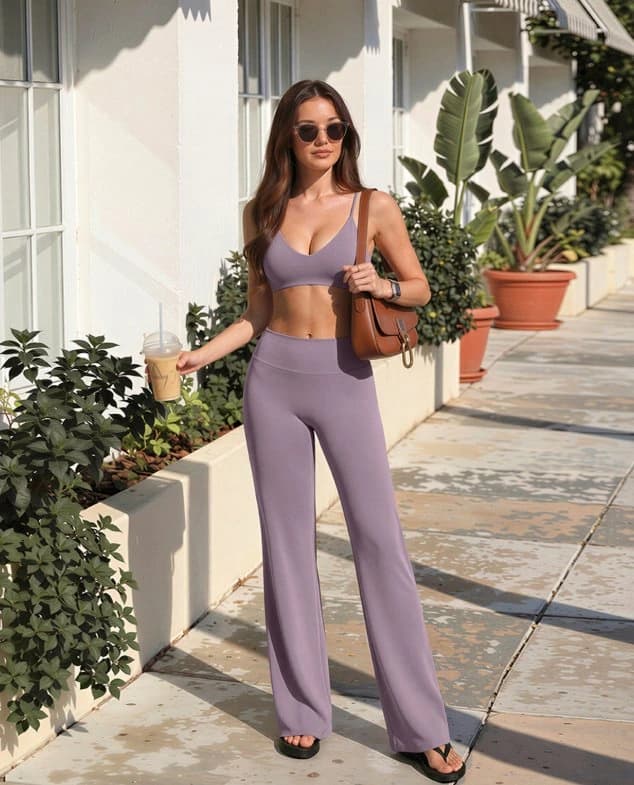
Custom Seamless Knit Sports Bra
Longline seamless rib bra with removable padding — a catalog style branded with your silicone logo.

Custom High-Waist Seamless Knit Leggings
Full-length seamless leggings with a sculpting waistband — pick a colour, press your silicone logo, ship.
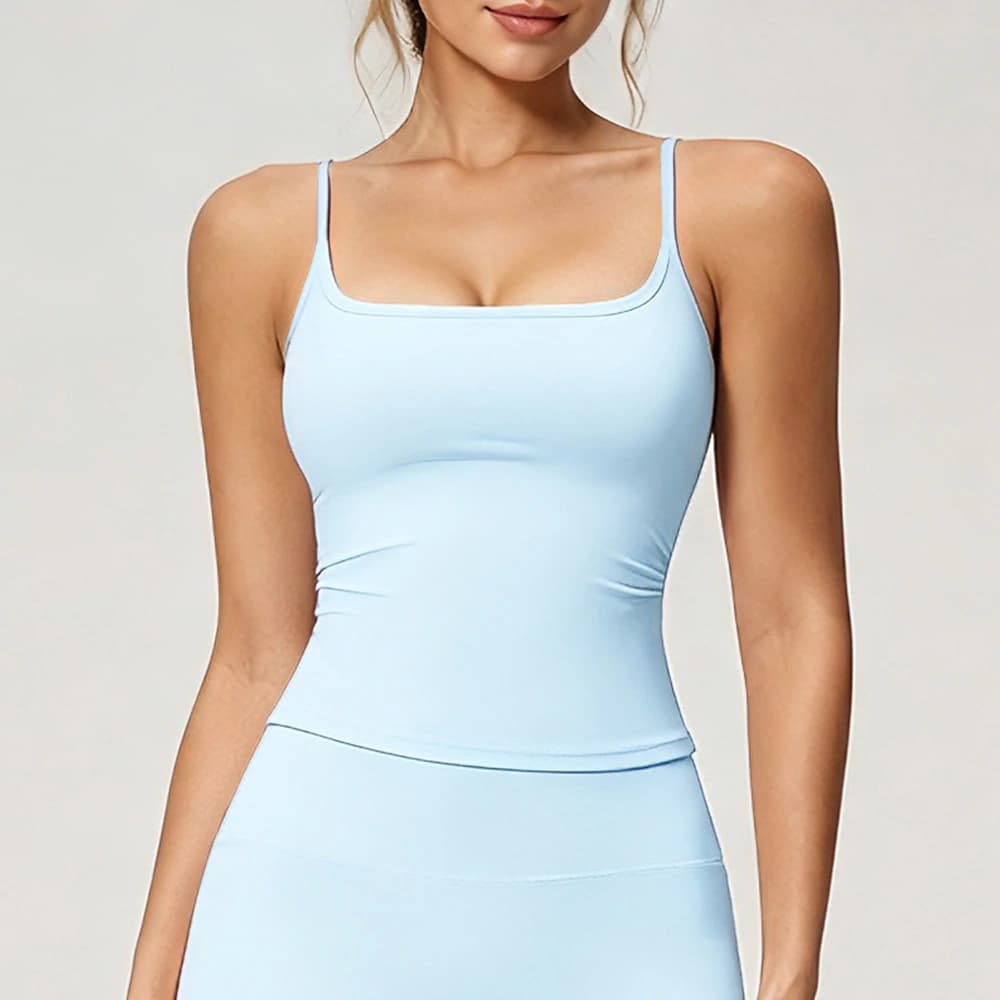
Custom Spaghetti-Strap Yoga Crop Tank
Square-neck spaghetti-strap tank with removable pads — a catalog style finished with your silicone logo.
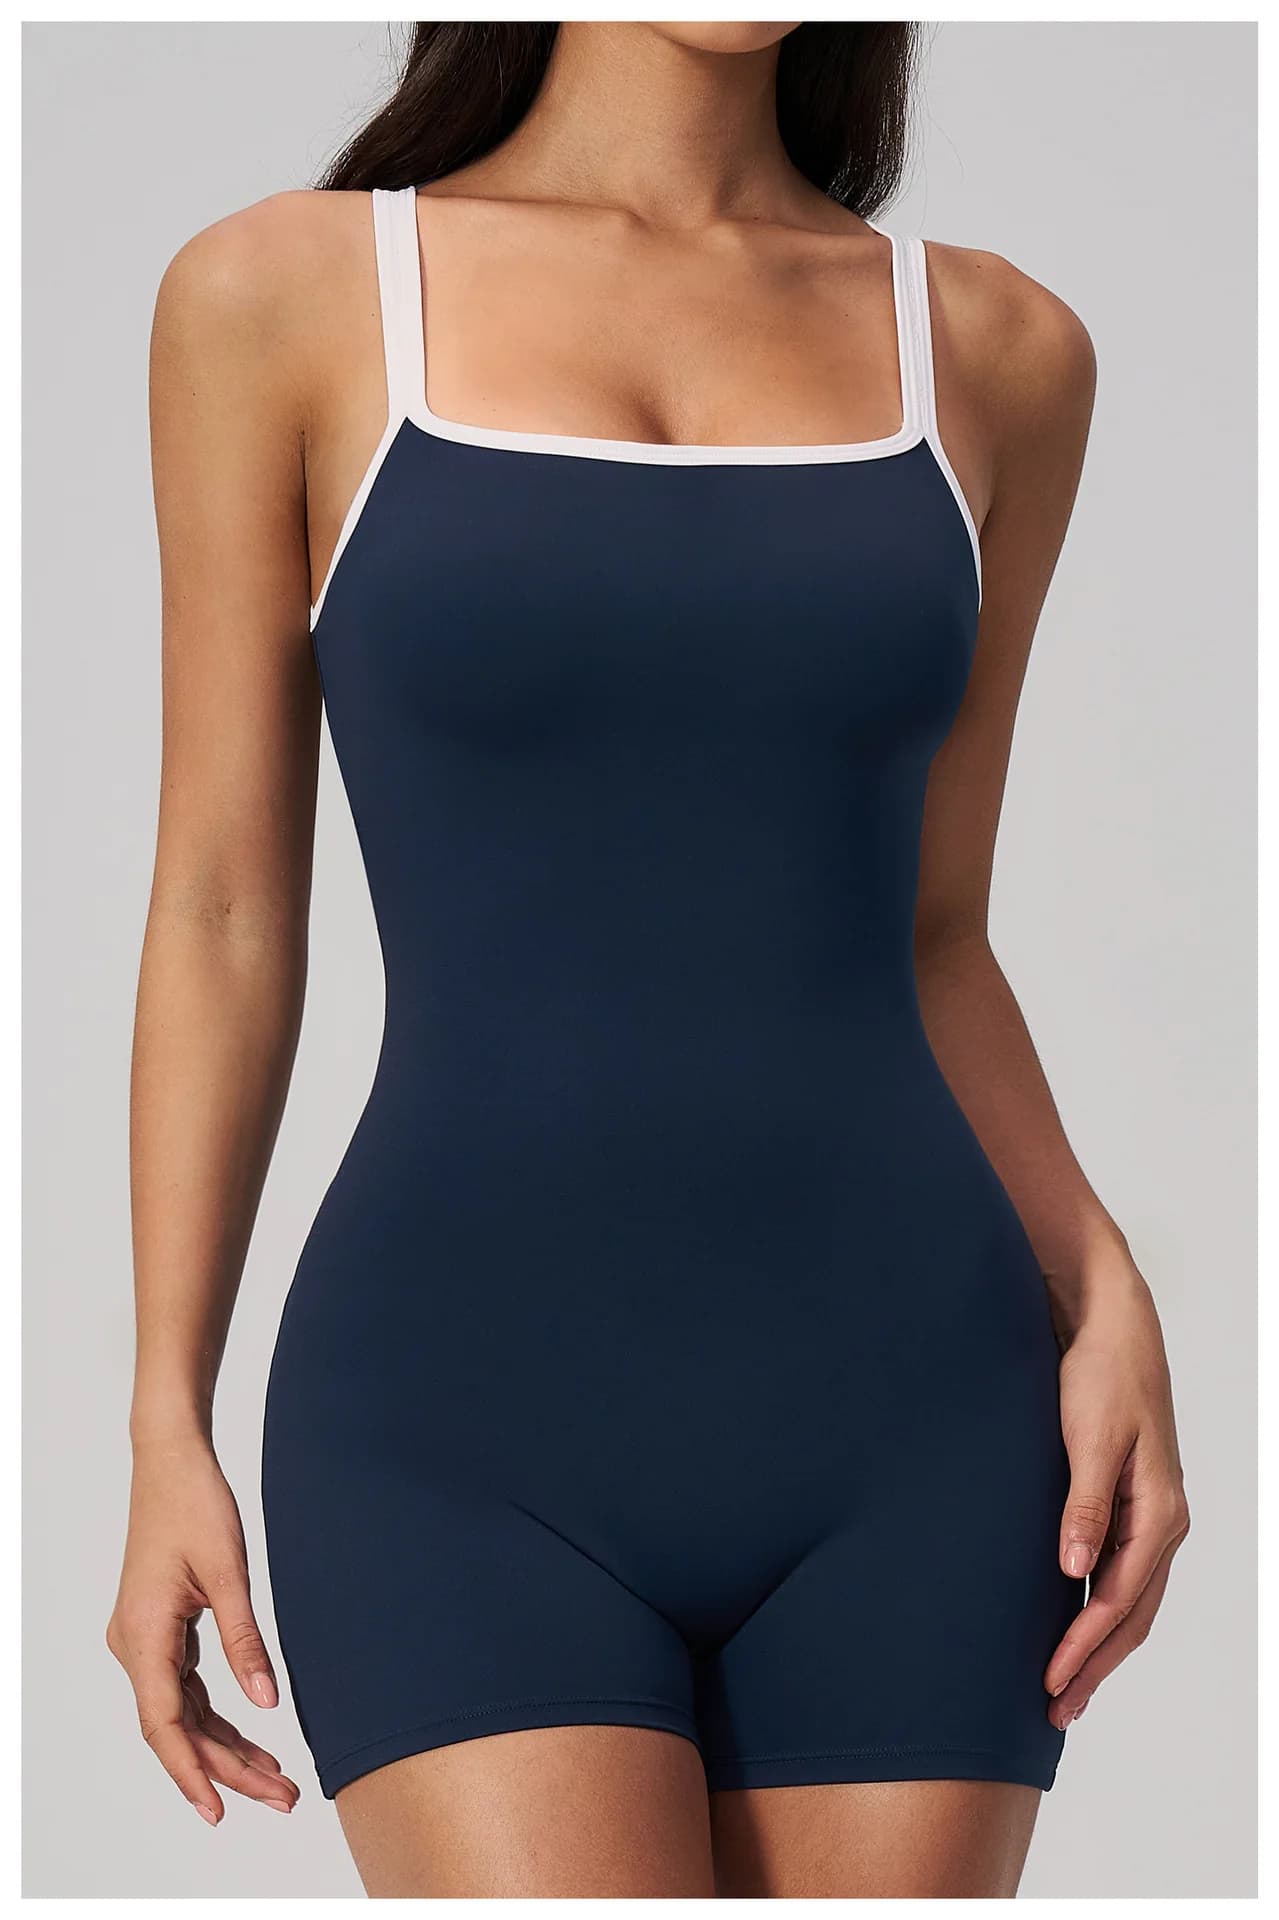
Custom Square-Neck Yoga Romper
One-piece romper with a square neck and open back — a catalog style finished with your silicone logo.
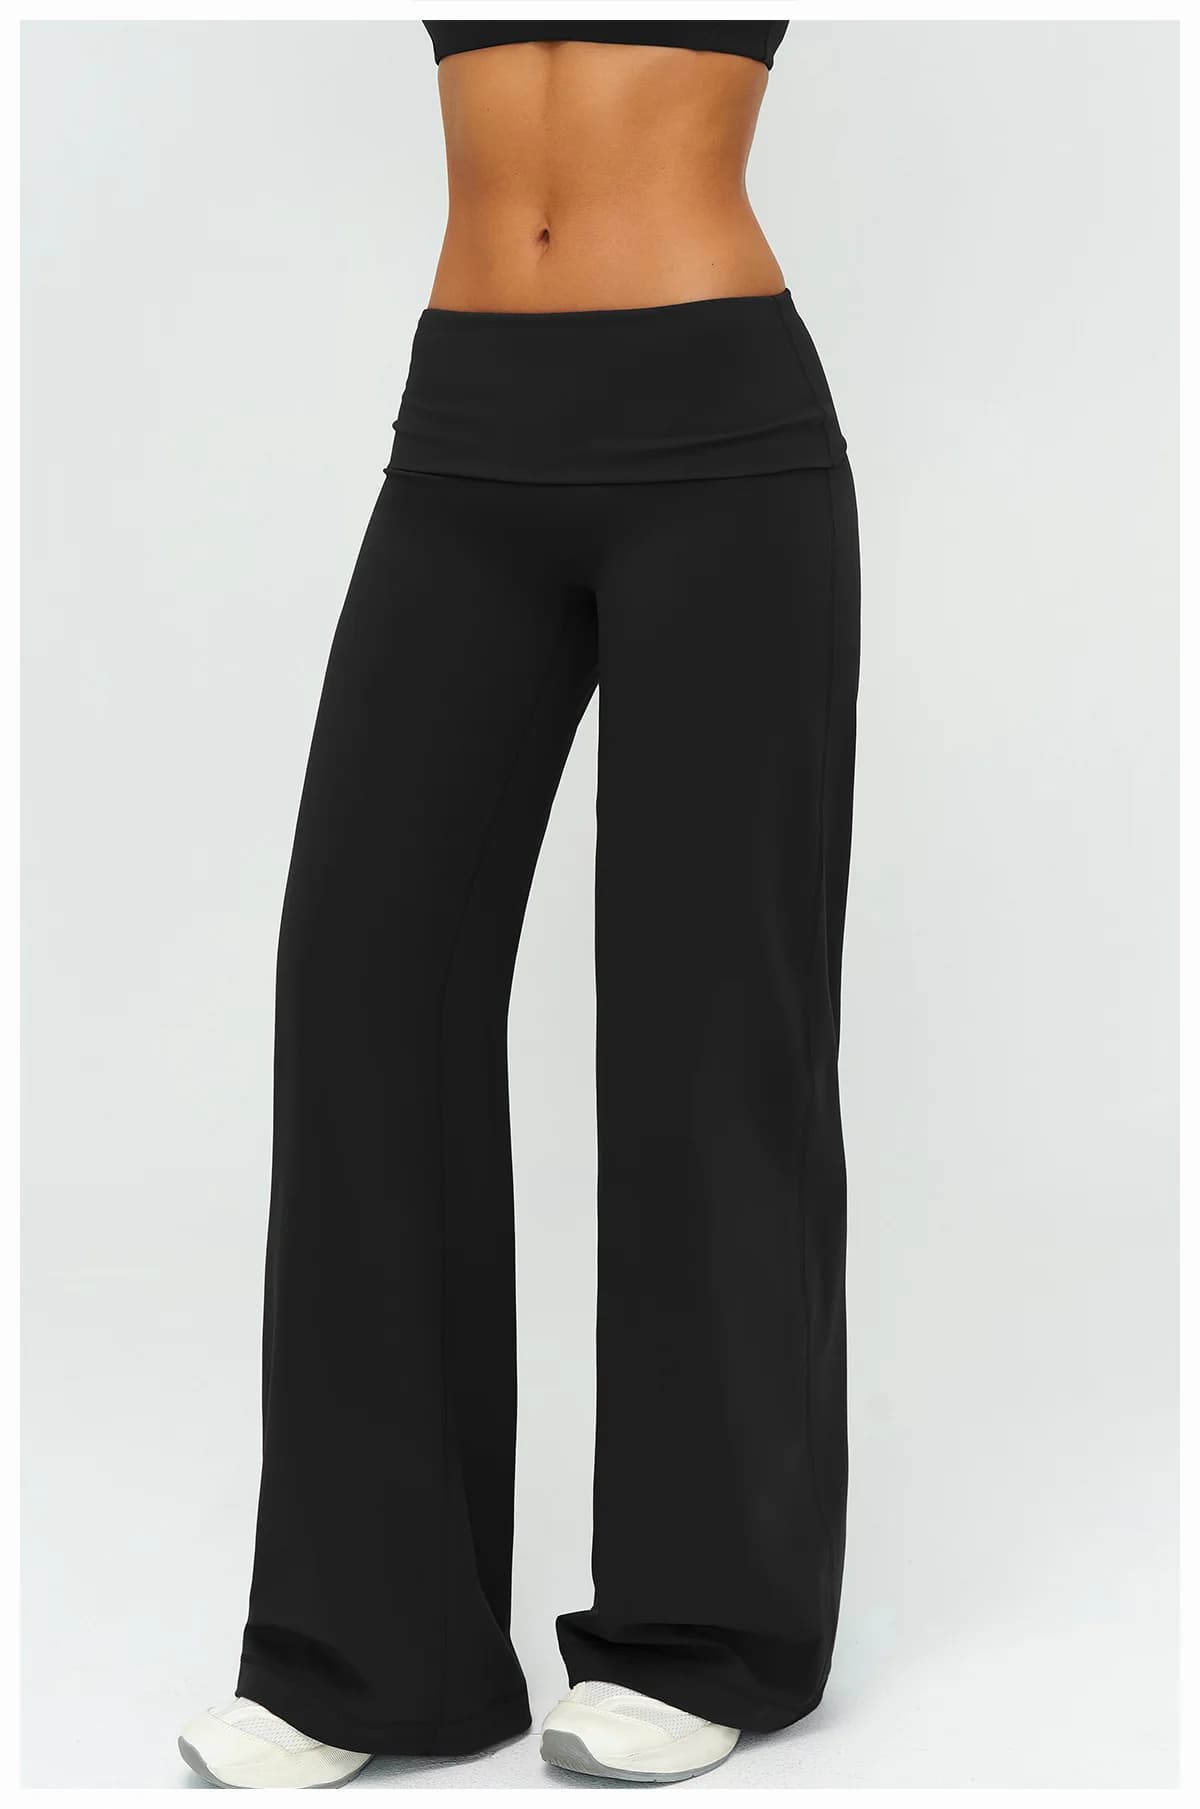
Custom Fold-Waist Flare Yoga Pants
Brushed wide-leg pants with a fold-over waistband — a catalog style finished with your silicone logo.
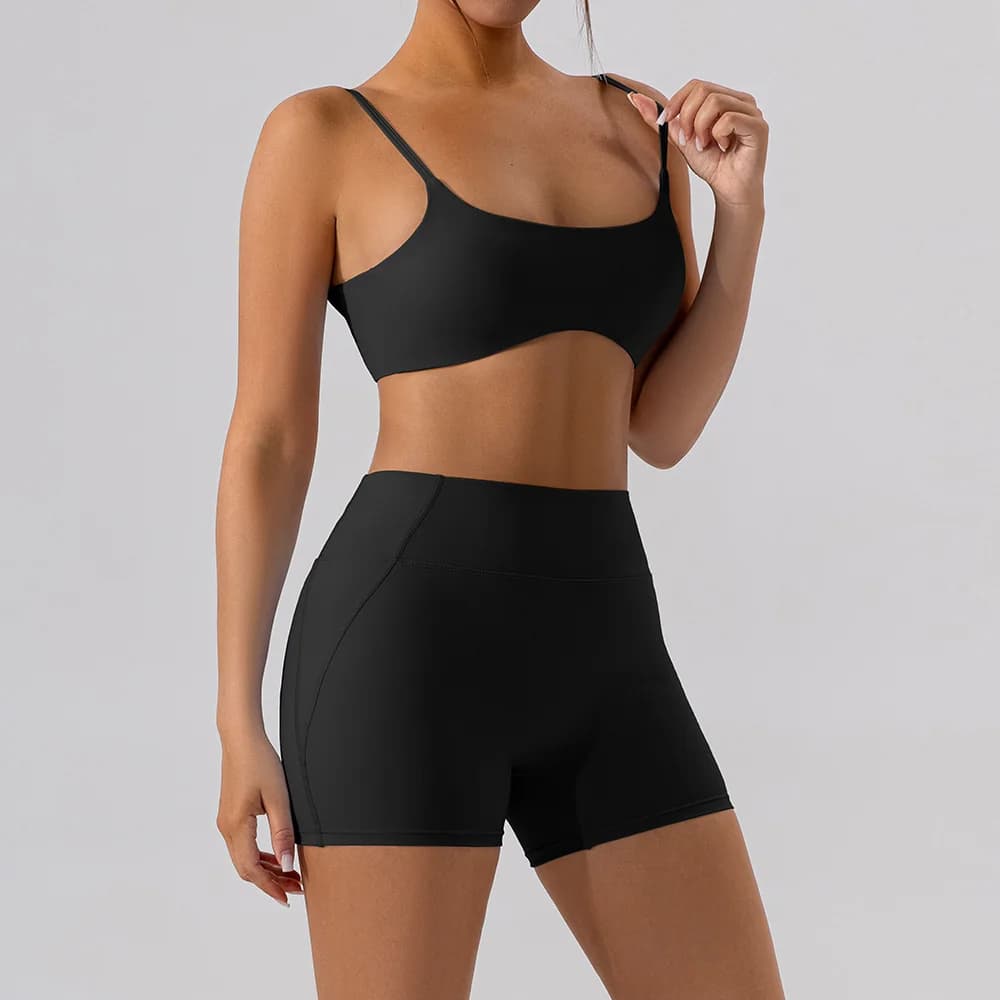
Custom Sports Bra and Shorts Set
Matching bra-and-bike-shorts set in smooth nylon-spandex — a catalog style finished with your silicone logo.
Techniques behind this product
Keep reading
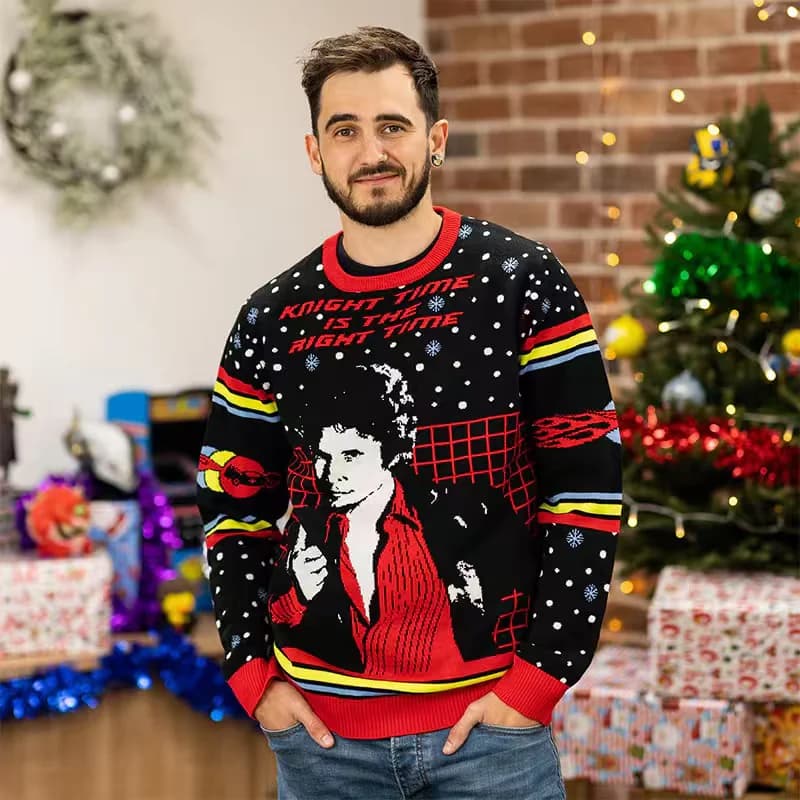
It's Time to Custom-Own Your Christmas Jumper
A short consumer-oriented overview of the custom Christmas jumper trend — design ideas, group-event tips, and the festive looks defining this year's holiday season.
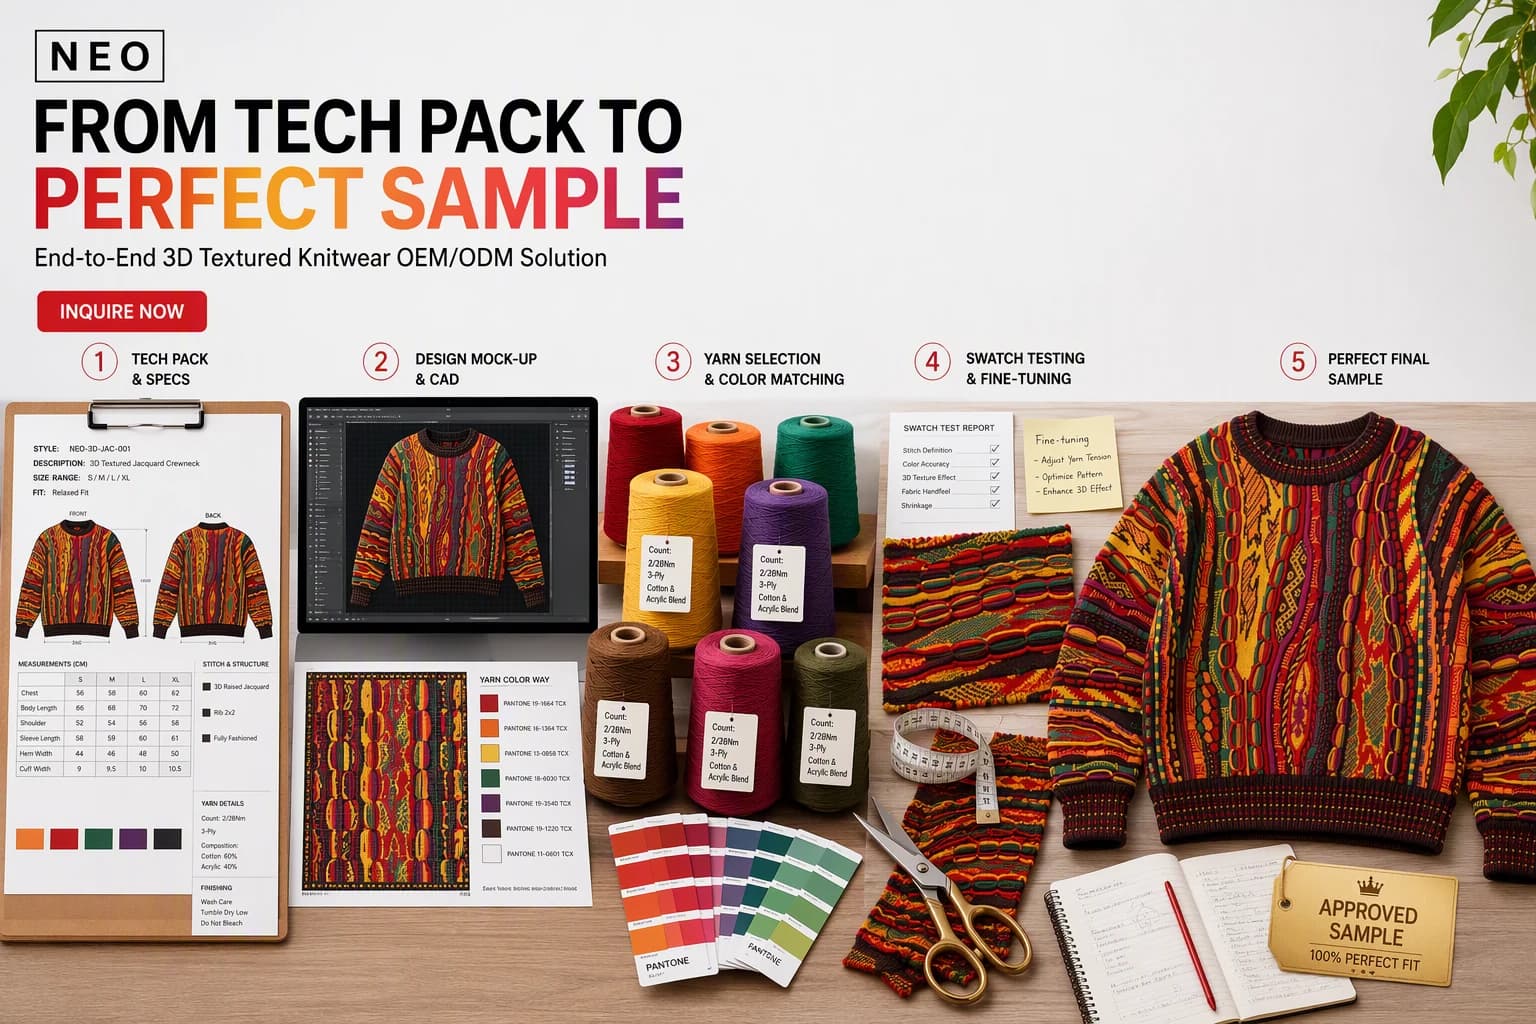
From Tech Pack to Perfect Sample: How Knitwear Sampling Actually Works
A floor-level walkthrough of the five stages between your tech pack and an approvable knit sample — mock-up and CAD programming, yarn colour matching, swatch testing, and the final PPS.
Sourcing Custom Men's Knitwear: What Separates a Knitwear Factory from a Sweater Mill
Mens knitwear briefs rarely fail on the design. They fail on gauge, size grading and reverse-side finishing — three things most price requests never ask about. Here is what to specify before you ask for a quote.
Send us the piece you were told was too hard.
Reference photo, rough sketch, or full tech pack — our Dalang technical punchers evaluate feasibility, machine gauge, yarn options, and pricing within 24 hours.